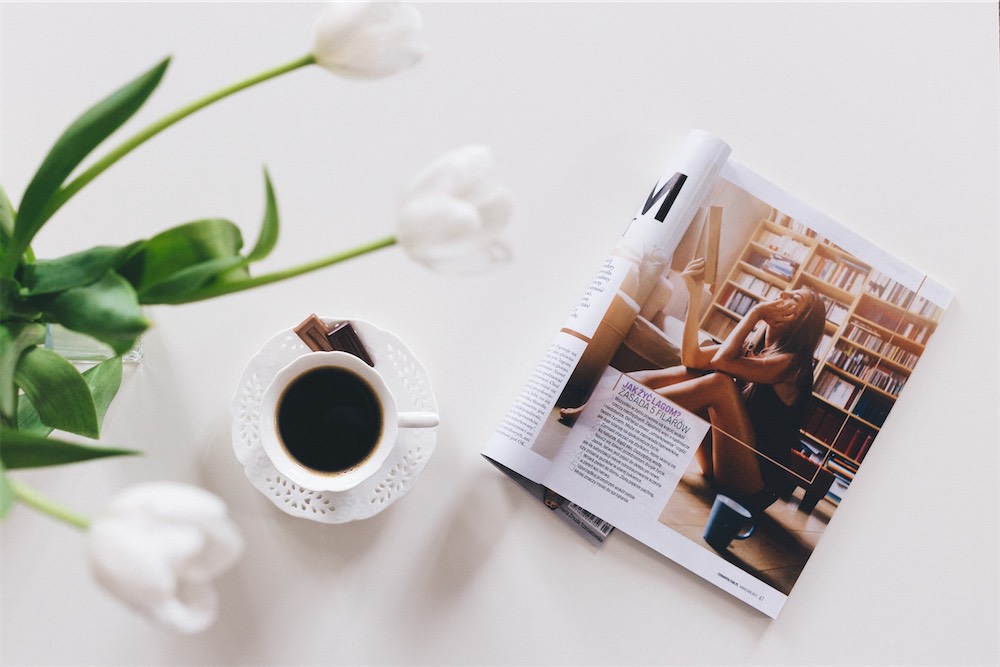
Source photographer Svitlana Sokolova - Freerangestock.com
Studio lighting is a fundamental tool in any photographer's arsenal. Whether you're shooting portraits, product photography, or fashion spreads, understanding the basics of studio lighting is key to capturing stunning images. In this beginner's guide, we'll break down the essentials of studio lighting and provide you with the knowledge you need to start mastering this crucial aspect of photography.
The first thing to consider when setting up studio lighting is the type of equipment you'll need. The most common tools include strobe lights, continuous lighting, reflectors, and light modifiers such as umbrellas and softboxes. Strobe lights are popular among photographers due to their powerful output and ability to freeze motion, while continuous lighting provides a consistent source of light for video shoots or long exposure shots.
Once you have your equipment set up, it's time to understand the basics of lighting patterns. The three main lighting patterns used in studio photography are split lighting, loop lighting, and Rembrandt lighting. Split lighting involves placing the light source to one side of the subject, creating a dramatic look with strong shadows. Loop lighting, on the other hand, involves positioning the light at a 30-45 degree angle above the subject, casting a small shadow on the opposite side of the nose. Lastly, Rembrandt lighting combines the best of both worlds, featuring a small triangle of light on the shadow side of the face for a classic and flattering effect.
Key Equipment for Your Home Studio Setup
When setting up your home studio for mastering studio lighting, there are a few key pieces of equipment that you'll need to ensure your setup is optimized for capturing the perfect shot. One essential piece of equipment is a good quality camera. Whether you're using a DSLR or a mirrorless camera, make sure it has the capability to shoot in manual mode so you have full control over your lighting setup.
Another important piece of equipment for your home studio is a tripod. A sturdy tripod will help keep your camera steady and ensure your shots are sharp and in focus. Look for a tripod with adjustable height and angle settings so you can easily position your camera for the best lighting setup.
Lighting is perhaps the most crucial element of mastering studio lighting. Consider investing in a good quality lighting kit that includes softboxes, umbrellas, and adjustable stands. Softboxes help create soft, diffused lighting that is flattering for portraits, while umbrellas can help spread light evenly across your subject.
Finally, don't forget about the importance of a backdrop for your home studio setup. A plain backdrop in a neutral color like white, black, or grey can help keep the focus on your subject and create a clean, professional look for your photos. Look for a backdrop that is large enough to cover your entire frame and wrinkle-resistant for easy setup and storage.
Techniques for Achieving Professional Lighting Results
When it comes to studio lighting, there are a few key techniques to keep in mind in order to achieve professional results. One of the most important aspects of lighting is understanding the concept of light direction. By positioning your light source to the side or above your subject, you can create depth and dimension in your images. Experiment with different angles to see how the light falls on your subject and adjust accordingly for the desired effect.
Another important technique is controlling the intensity of your light. By adjusting the power of your light source, you can create different moods and atmospheres in your photos. Use a light meter to measure the intensity of your light and make adjustments as needed. Remember that a little goes a long way, so don't be afraid to start with a lower intensity and gradually increase it until you achieve the desired result.
Additionally, consider the use of modifiers to shape and soften your light. Softboxes, umbrellas, and diffusers can help create a more flattering light on your subject and reduce harsh shadows. Experiment with different modifiers to see how they affect the quality of light in your images. Finally, don't be afraid to mix different types of lighting sources, such as natural light and artificial light, to create a more dynamic and interesting look. By mastering these techniques, you can elevate your studio photography to the next level and achieve professional results.
Common Mistakes to Avoid in Studio Lighting
When it comes to studio lighting, there are a few common mistakes that beginners often make that can impact the quality of their photos. One of the biggest mistakes is not properly positioning the lights. It's important to experiment with different angles and distances to achieve the desired lighting effect. Another mistake is using too many lights at once, which can create harsh shadows and overpower the subject. Start with one or two lights and add more as needed.
Another pitfall to avoid is ignoring the importance of a reflector. Reflectors can help bounce light back onto your subject, creating a more balanced and flattering light. Make sure to position the reflector opposite your main light source for the best results. Additionally, forgetting to white balance your camera can lead to color issues in your photos. Take the time to set your white balance correctly to ensure accurate colors in your images.
Lastly, not understanding the different types of studio lighting equipment available can hinder your ability to create the desired lighting effect. Take the time to research and familiarize yourself with key equipment such as softboxes, umbrellas, and strobe lights. Each type of lighting equipment has its own unique characteristics and uses, so it's important to choose the right tools for the job.
Canon EOS 90D DSLR Camera with Wi-Fi & Bluetooth
Capture Every Moment with the Canon EOS 90D DSLR Camera with Wireless Connectivity
Product information
$1,199.00
Product Review Score
4.62 out of 5 stars
121 reviews